

Using our Basic Examples
Learn NEAR smart contract basics through practical examples: Counter, Guest Book, Donation, Coin Flip, and Hello World.
We have created a selection of basic smart contracts to help you get started building Smart Contracts on NEAR.
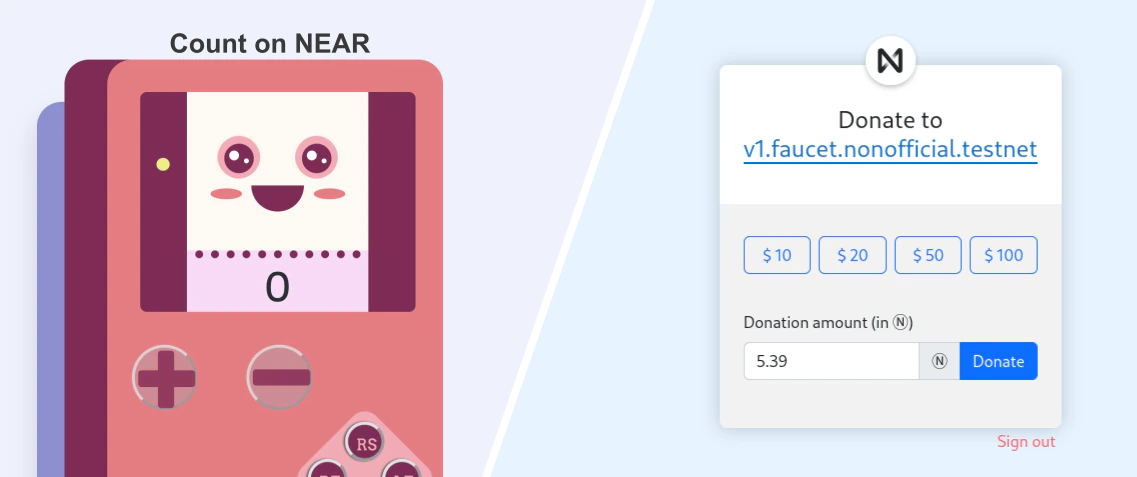
These examples cover fundamental concepts such as state management, function calls, and token interactions. Each example is designed to be simple and easy to understand, making them perfect for beginners.
[!TIP]
Before tackling these examples, be sure to follow our Quickstart Guide
Examples
[card] Hello World
A simple smart contract that stores a
stringmessage on its state. Open in NearPlay
[card] Counter
A friendly counter that stores a number with methods to increment, decrement, and reset it. Open in NearPlay
[card] Guest Book
Users can sign the guest book, optionally paying
0.01 Ⓝto mark their messages as "premium". Open in NearPlay
[card] Donation
Forward NEAR tokens to a beneficiary while tracking all donations. Learn how contracts handle token transfers. Open in NearPlay
[card] Coin Flip
Guess the outcome of a coin flip and earn points. Demonstrates how to handle randomness on the blockchain. Open in NearPlay
[!TIP]
Try Without Setup Want to try these examples immediately? Click the "Open in NearPlay" button on any card above to start coding in NearPlay - no installation required!
Structure of the Examples
All examples follow a consistent structure, making it easy to navigate between them. Each repository contains the smart contract written in Rust (contract-rs), along with a simple frontend to interact with the contract.
┌── contract-rs # contract's code in Rust
│    ├── src    # contract's code
│    ├── tests  # sandbox test
│    ├── Cargo.toml
│    └── rust-toolchain.toml
├── frontend   # React + Next.js frontend
│    ├── src    # frontend implementation
│    ├── public
│    └── package.json
└── README.md
Frontend
Each example includes a Next.js frontend that connects to NEAR and lets you interact with the smart contract. To start it, run:
cd frontend
yarn
yarn dev
[!TIP]
Each frontend connects to a pre-deployed version of the contract. Check the frontend's configuration to see which contract is being used, or change it to your own deployed contract. In Hello NEAR, this configuration is in
frontend/src/config.ts.
Connecting to NEAR
The Hello NEAR frontend defines a local NearProvider that uses NEAR Connect to manage wallet connections and sign transactions, and near-api-js to query the blockchain.
The provider wraps the application in src/pages/_app.tsx so components can access its wallet state and contract helpers:
import type { AppProps } from "next/app";
import { NearProvider } from "@/components/near-provider";

export default function App({ Component, pageProps }: AppProps) {
  return (
    <NearProvider>
      <Component {...pageProps} />
    </NearProvider>
  );
}
Components within the provider use the local useNearWallet hook to sign in and out, read contract state, and call contract methods:
import { useNearWallet } from "@/components/near-provider";

export default function Greeting() {
  const { loading, signIn, signOut, signedAccountId } = useNearWallet();
  const { viewFunction, callFunction } = useNearWallet();

  // Use these values and functions in your component.
  return null;
}
See the frontend quickstart for more details about the provider and contract interactions.
Smart Contract
All repositories include the same smart contract implemented in Rust.
The contracts are implemented following the latest version of the SDK, and include sandbox tests showcasing how to properly test smart contracts in a realistic environment.
Testing
Each contract includes sandbox tests that simulate real user interactions. For example, in the Guest Book example, the tests cover scenarios like having multiple accounts signing the guest book, including premium messages.
cd contract-rs
cargo test
Creating an Account
All smart contracts can be built and deployed using the NEAR CLI. A good first step is to always create a new NEAR account to deploy your contract:
near create-account <accountId> --useFaucet
[!TIP]
Here we are using the
--useFaucetflag to create a new account and pre-fund it with the testnet faucet
Building & Deploying
Once you created an account to host the contract, you can build and deploy it:
cd contract-rs
cargo near deploy build-non-reproducible-wasm <accountId>
Interacting via CLI
Once your contract is deployed, check the README.md of each repository to see the available methods you can call.
As a general guide, the NEAR CLI has two main ways to interact with smart contracts:
# Call a read-only (view) method
near view <contractId> <methodName>

# Call a method that changes state
near call <contractId> <methodName> <arguments> --useAccount <yourAccount>

# Call a method and attach NEAR tokens
near call <contractId> <methodName> <arguments> --useAccount <yourAccount> --deposit 1
[!TIP]
Check each repository's README for the specific methods available in that contract.
Moving Forward
After exploring these basic examples, you can:
- Modify the contracts - Try adding new functionality to deepen your understanding
- Learn the fundamentals - Check out Contract Anatomy and Storage